Ubuntu GNOME 15.04 running with HiDPI support and touch screen
Ubuntu GNOME 15.04 running on Yoga Pro 2 with HiDPI support
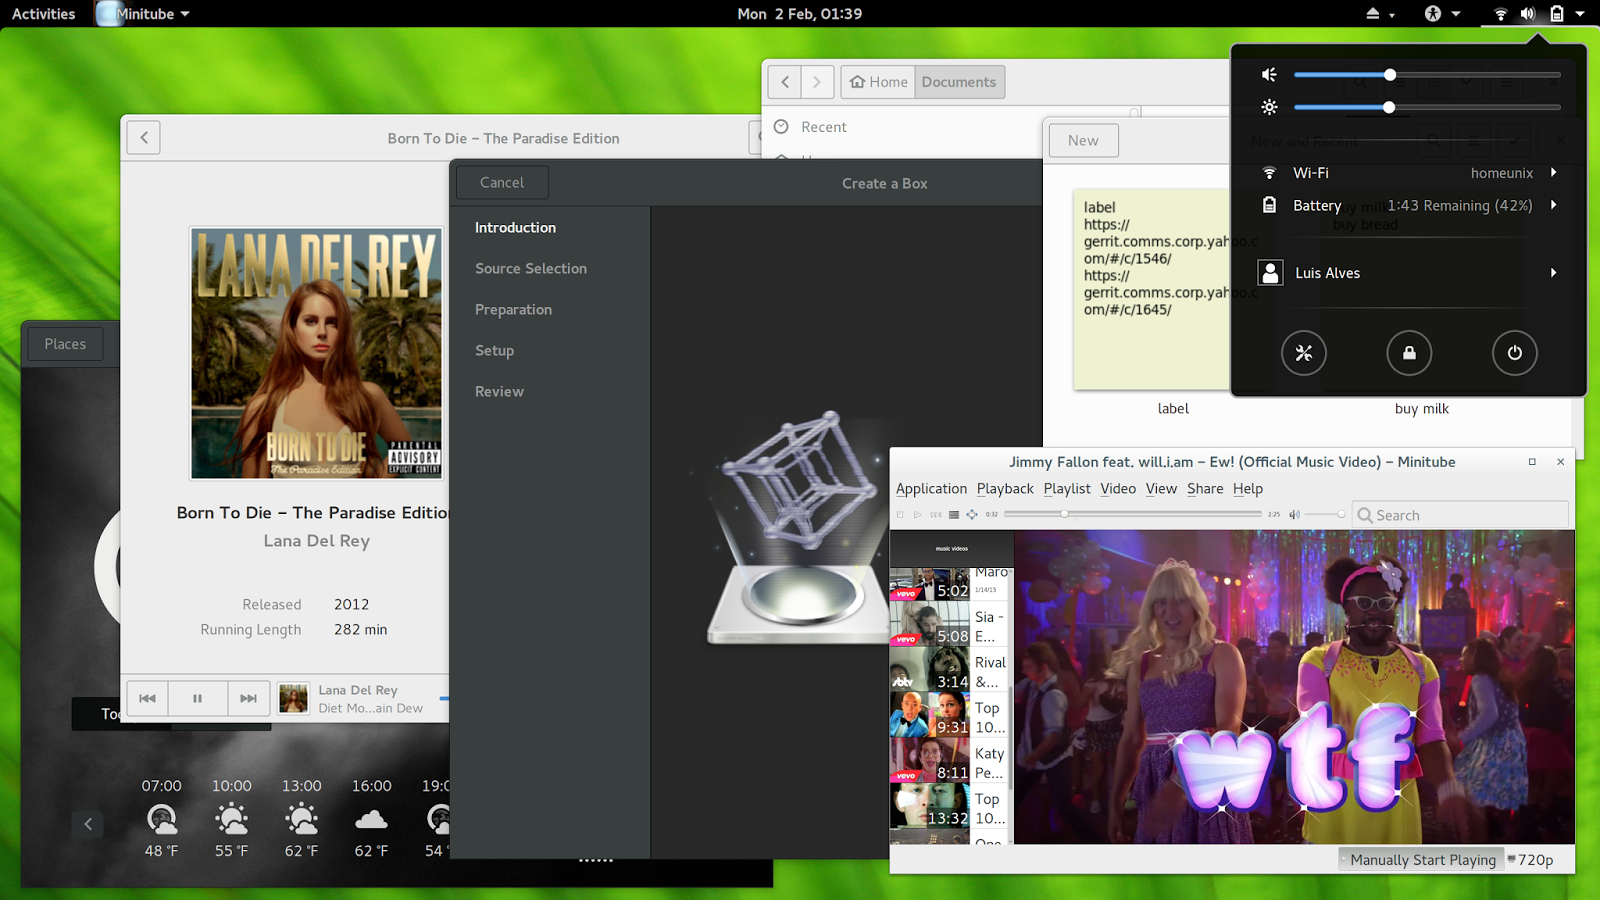
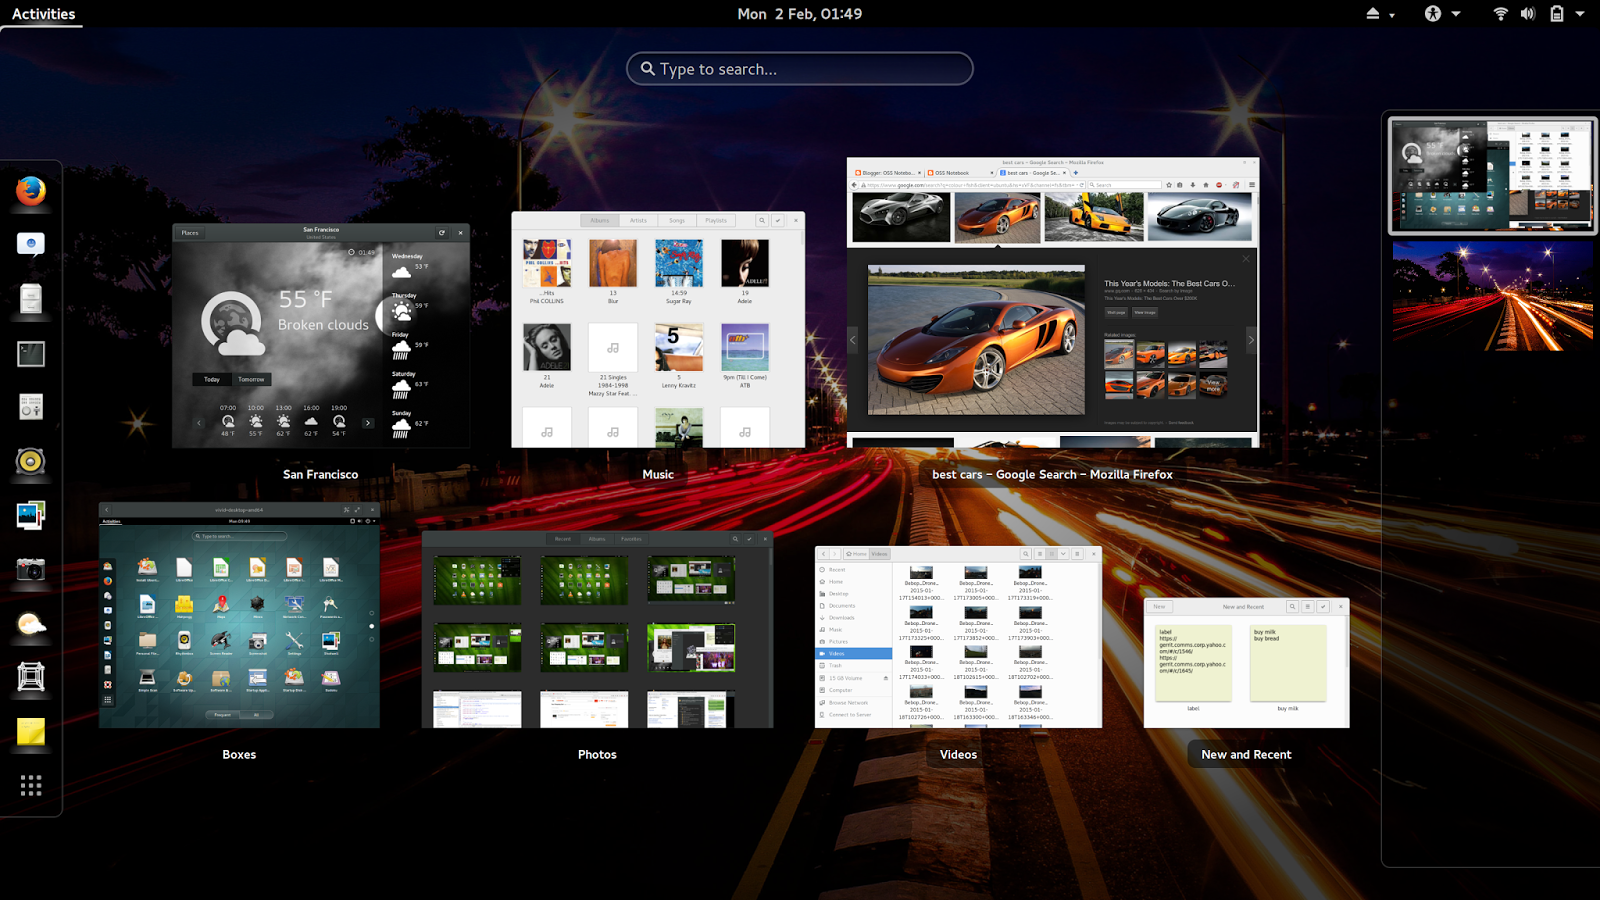
I think Ubuntu GNOME is the best flavor of Ubuntu if you are running HiDPI mode 3200x1200. All screen captured images are at HiDPI resolution.
Until Ubuntu 15.04 is released in April, you can get a daily build of http://ubuntugnome.org for 15.04.
Yoga Keys boot key
F12 - Boot menu to select booting from usb drive
F2 - Bios Menu
Power down the computer. Push the “novo” button ounce or press F2 while booting, to force the computer to enter into BIOS menus. Disable “Security Boot” and disable “Lenovo Fast Boot”. Leave UEFI option turned on since Ubuntu supports UEFI out of the box.
I also enabled the Functions keys in the BIOS by default but this is a personal preference.
Create to boot USB disk
Format your flash drive with a single FAT32 partition. Copy the contents of the Ubuntu ISO (use your favorite archiving tool - 7zip for example) or CD to it. Use a recent 64-bit Ubuntu version.
That's all you need to do. No need to install a boot loader or use special tool.
You can also use Ubuntu tool to create a UEFI bootable flash drive.
Note: Avoid using something like Unetbootin to create a UEFI-bootable flash drive, it does not work.

Install
Create a USB boot drive with another Ubuntu machine, plug the USB stick on it. Use the USB 2.0 port on the Yoga pro 2 to plug the usb key, I had problems with the usb 3 port using a usb 3 stick, seems to me it was un-mounted during the installation process, when installer was setting up the drives.Select the partition size for Ubuntu let the UbuntuGnome installer resize your windows partition. Grub will have an option to boot windows after the install is done and will setup Ubuntu as the default OS.
Note:
The default options will work fine, there is no need to setup custom partitions. But if you want to setup new partitions here is what I did. I deleted all windows partitions since I don't run windows and created efi 512 Mb partition (this is where the efi code looks for the kernel to be loaded on boot, the installer allows you to create this partition with a special type), I also created a swap partition of 9Gb since I have 8Gb of physical memory, a 15Gb partition for the OS "/" and a the rest for home "/home".
After installation
UbuntuGnome ships with gnome 3.14 and will boot with full resolution HiDPI, support enabled.
You can change the resolution in the settings to another resolution, in case you don't want to use HiDPI, select 1920x1080 that should give you a good scale ratio on the Yoga Pro 2.
What works
Almost everything works great out of the box, there isn't many changes you need to do.
Sound works
Options keys for sound work, side sound button up/down works.Screen
Everything works, brightness, resolution changes, even the option keys to turn off the screen and brightness.Camera
Works fine.Sleep
No issues.Keyboard
Keyboard background light works, menu key works, Special Fn key mute, volume up, volume down, turn off screen, refresh, brightness up and down, menu key, keyboard light, side buttons for up and down volume, air-plane mode, work as expected.Fn key to show all screens works but it is a shortcut to Activities menu so you don't have to use the touch pad.
Wifi and bluetooth works
No issues.Does not work out of the box
The side mute button, Fn key to disable track-pad function.HiDPI support
UbuntuGnome supports HiDPI by default since version 14.10, no changes required.Tweaks to make some Apps work better with HiDPI
Open Firefox advanced preferences page (
about:config) and set parameter layout.css.devPixelsPerPx to 2 (or find the one that suits you better; 2 is a good choice for Yoga Pro 2 screen)Google Chrome version 43 and up support HiDPI, so you can download google chrome for ubuntu and execute to instale version 43.
sudo apt-get install google-chrome-beta
If you use a HiDPI monitor such as Yoga Pro 2 display together with another monitor, you can use AutoHiDPI add-on in order to automatically adjust
layout.css.devPixelsPerPx setting for the active screen. Set Pixel Ratio to 2x and HiDPI screen with to 3200, on the plug-in settings page.If you use the touch screen you should install Grab and Drag add-on to make Firefox more tablet friendly.
Chromium renders the site with the correct scale, but Chromium menu is not usable in HiDPI, chromium supports the touchscreen better than firefox if you wish to use it with the touchscreen Chromium is the better choice.
Run chromium at device scale in case it starts with big fonts.
chromium-browser --force-device-scale-factor=1
For Thunderbird see Firefox. To access about:config, go to Edit → Preferences → Advanced → Config editor.
Skype
Skype is a Qt program, and needs to be configured separately. You cannot change the DPI setting for it, but at least you can change font size. Install qt4 and run qtconfig-qt4 to do it.
Cheese, totem, vlc work great in HiDPI, but Clementine still show interface with icons that are not scaled properly.
Console
Configure larger font on tty console, leave all settings as they are, but for font select Terminus, and on the last one, where you can chose the size 16x32.sudo dpkg-reconfigure console-setup
Reference: https://wiki.archlinux.org/index.php/HiDPI
Ubuntu extras and tools
sudo apt-get install flashplugin-installer
sudo apt-get install ubuntu-restricted-extras
sudo apt-get install adwaita-icon-theme-full
### media players, gnome and compression tools [lots of packages for these]
sudo apt-get install vlc clementine minitube bijiben polari gnome-clocks gnome-weather gnome-maps gnome-music gnome-photos gnome-documents gnome-contacts epiphany-browser gnome-sushi gnome-boxes gnome-shell-extensions gnome-tweak-tool p7zip-rar p7zip-full unace unrar zip unzip sharutils rar uudeview mpack arj cabextract file-roller htop dconf-editor gnome-tweak-tool
### DVD support
sudo apt-get install gstreamer0.10-plugins-ugly gxine libdvdread4 totem-mozilla icedax tagtool easytag id3tool lame nautilus-script-audio-convert libmad0 mpg321 libavcodec-extra
sudo /usr/share/doc/libdvdread4/install-css.sh
USB 3 ethernet adapter
I got a USB 3 Ethernet adapter at frys, it works great.
http://www.amazon.com/Diamond-Multimedia-Gigabit-Ethernet-UE3000/dp/B00DWXV4SY
http://www.amazon.com/SIIG-7-Port-USB-3-0-Adapter/dp/B00AAHLWA0/ref=sr_1_1?ie=UTF8&qid=1404719193&sr=8-1&keywords=siig+usb+3+hub
Intel Video drivers [not recommended]
Follow the link https://01.org/linuxgraphics/downloads.Wifi network card upgrade [not recommended, only do it if you need dual band wifi]
I also upgraded the wifi network card to a intel dual band, link to amazon and Youtube video.
Spec: 7260NGW Intel® Dual Band Wireless-AC 7260 802.11ac, Dual Band, 2x2 Wi-Fi + Bluetooth 4.0
01:00.0 Network controller: Intel Corporation Wireless 7260 (rev 6b) Subsystem: Intel Corporation Dual Band Wireless-AC 7260
Capabilities: [154] Vendor Specific Information: ID=cafe Rev=1 Len=014
Kernel driver in use: iwlwifi
Works great.
References
Ubuntu 14.04 running in yoga pro 2
UbuntuGnome 14.04 running on yoga pro 2
Kubuntu14.04 running in yoga pro 2


Comments
Post a Comment